

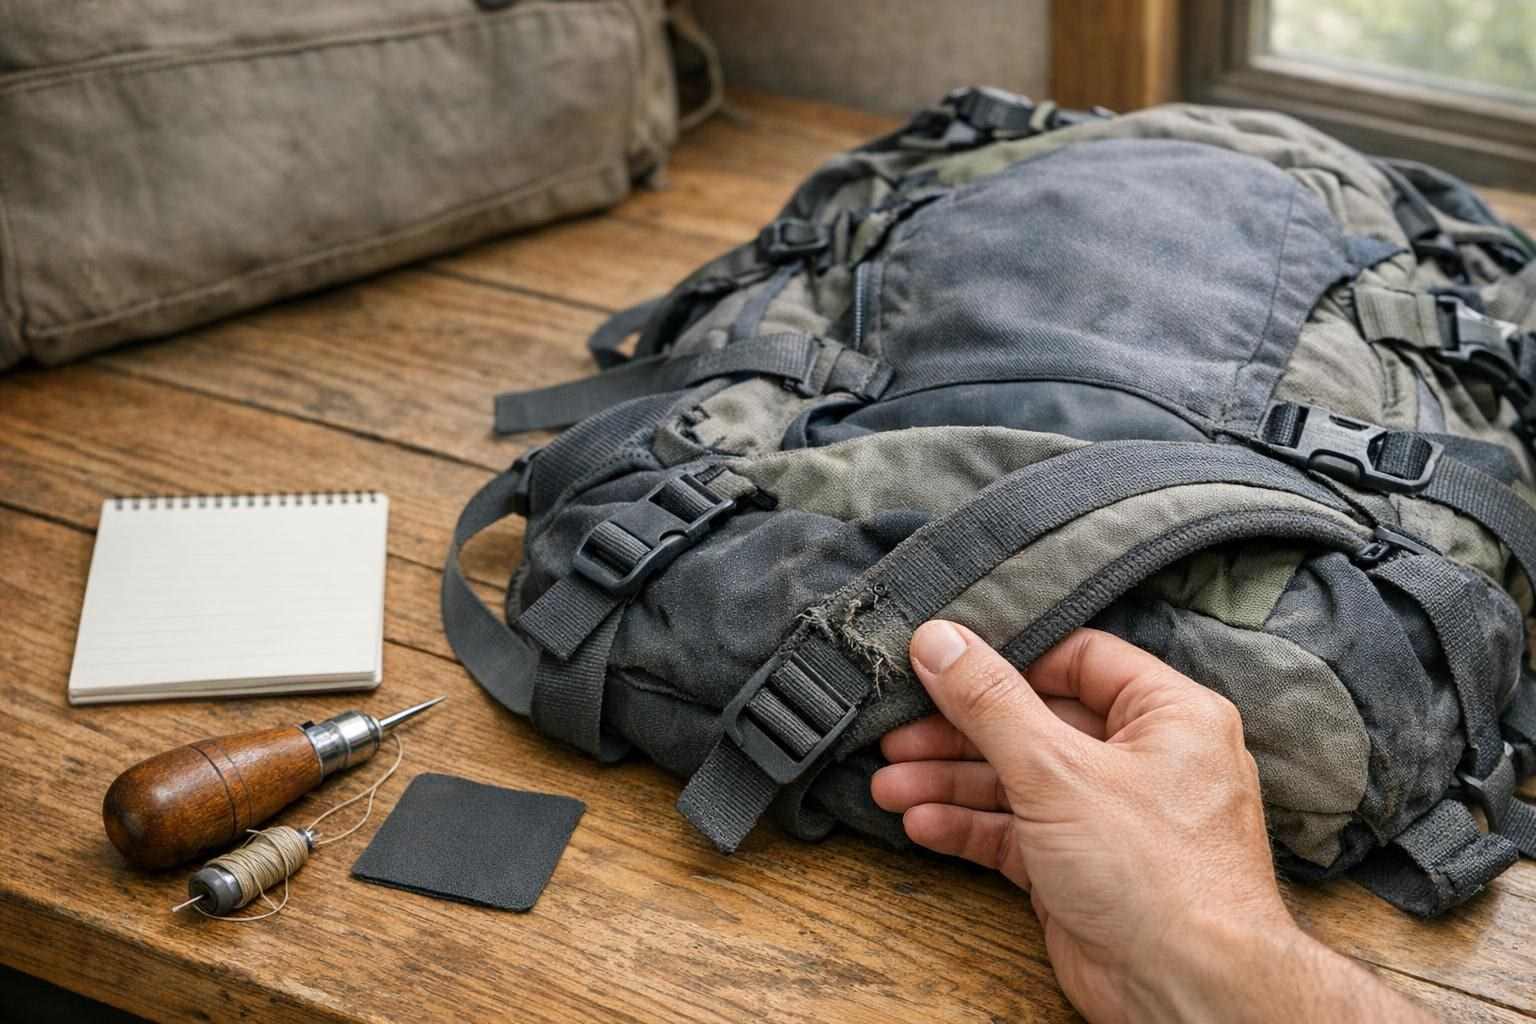
There is nothing more disappointing than heading out on an overnighter to find that a strap has torn, the zipper won't close, the bottle is leaking or the soles of your shoes are deteriorating. Of course, there's the immediate cost of replacing items that suffer from wear and tear but equally there's the wasted potential of items that have failed so poorly that they can never be confidence assured to perform in adverse conditions. A simple check for damage prior to purchasing can highlight items that can be cleaned to prevent wear and those that can be repaired and those that are best replaced prior to failure.
Start with a full-condition check
Everything should be empty (pockets, etc.) and cleaned of dirt and grit before inspection. Items with have moisture in folds and seams can develop smells, mildew, corrosion and other damage that is easy to miss before cleaning. Try to lay out all of your camping, hiking, and hunting gear (sleeping bags, packs, rain gear, boots, shelter parts, etc.) to make inspection easier than looking at items in storage.
Different problems with zippers need different solutions. A zipper that only catches near one point, for example, may need to be cleaned, or the sliders on it hunted down and lubricated. However, a zipper that is separating behind the slider is likely to be caused by damaged teeth or tape. This would need to be replaced. Different problems with the same item need to be noted.
Take photos of unusual wear or damage before you disassemble anything. They help you remember what you found before you disassembled the item and can form the basis of any repair conversations with retailers or specialists.
Sort the list by function, not frustration
Write down the item with symptoms, possible cause of the symptom, needed supplies to repair, and whether or not the fix will affect safety or be needed before the next hunt. Organize the items to be fixed into the following categories: easy maintenance, practical repair, items to be replaced.
Categorize the list of gear items needed for repair into three lists: items that need to be cleaned (such as clothing), items that can be repaired (such as a tear in a strap), and items that need to be replaced (such as worn-out soles or broken buckles). Note that some easy maintenance items (like batteries) can be replaced by the consumer, while other items that need to be replaced (like worn-out soles) cannot be repaired by anyone but the manufacturer.
Be sure to differentiate between problems that are simply annoying and those that will affect your ability to go on a future trip. Just because something needs to be repaired before next weekend does not mean you need to be able to repair it by next weekend. Problems with daypacks for short day hikes can be dealt with in ways that would be silly for longer hunting trips.
Know which symptoms should not be ignored
It is worth noting that there are some faults that are only slightly inconvenient and others that will affect how you use an item to complete a safe and effective trip. Items such as a harness, load-bearing straps, climbing gear, wading equipment, tree-stand accessories etc. should not be repaired using unknown or inferior parts and using a simple running stitch. Faults with the structural parts of such items (tears, cracks, creases, corrosion etc.) should not be relied upon and repaired in accordance with the manufacturer's instructions or by a qualified repairer.
Be just as discerning for gear related to weather protection as you are for safety protection. That minor appearing hole in the floor of your shelter may extend in unexpected ways once it is stretched by wind or weight. The same applies to seams, the edges of tubs and bath-like features and the connection points for pole sections. Don't underestimate the consequences to your sleeping bag of a compromised shelter through wet gear.
Inspect boots and waders for soil, as dirty soles can be cleaned but a sole that is separating from the upper of a boot or a fully failed waterproof membrane in several areas of a wader may not be worth repairing temporarily. As with hunting clothing, note noisy fabric, broken fasteners and snagged panels. Concealment is important but of lesser concern than mobility and weather protection.
Match the fix to the material
Determine what you can repair and what materials it is made of before purchasing the supplies you will need. All materials such as nylon, coated fabric, leather, mesh, foam, rubber and even molded plastic are best repaired with different types of adhesives, threads, patches and cleaning methods. What works well to repair a stuff sack may not work as well to repair a high tension strap made of the same material. Follow the care of the gear that you are going to repair and test any cleaning or adhesive on an unseen area first.
Small repairs are best to complete when the surrounding material is in good condition. First clean the area to be repaired and allow it to dry before starting. Make sure to cut loose fibers and do not enlarge the tear further. When applying a patch make sure it is large enough to extend past the damaged area and not interfere with any critical parts such as zipppers, buckles, adjustment points or fold lines.
Storing camping gear for future use also helps to maintain gear in good condition. Tent and sleeping bag pockets should be dry before storing, pack straps should be loosened, all metal parts should be clean to prevent rust, and sharp gear should be stored so as not to pierce other gear. Storage does not fix damage but does help to prevent minor problems becoming major ones.
Make the repair-or-replace call
This makes for a very different decision than simply looking at the price to repair versus to replace a gear item. You will need to determine whether or not the gear item in question can be used safely after having it repaired, will the gear item be able to function as it was intended after having it repaired, and are there other areas of failure in the gear item that are being repaired?
When choosing between repair and replace, consider the amount of confidence you need in the item. Items that will be used near to a vehicle may need less confidence in their repair than items that will be relied upon in very exposed weather. A daypack for a short day hike may have cosmetic wear on it but would not be suitable for a long hunting trip.
Consider alternative versions of hiking gear when purchasing to replace damaged items such as different closures, easier to clean versions of materials and simplified versions of components that contained the original weakness. Also consider keeping useful spare parts from retired gear that is in good condition and are clearly labeled.
Keep the list useful after the repair
Recording what repairs have been done and which spare parts have been used to carry out them is important. Even more important is to note what has not been fixed yet. When you return from a trip, check all your gear for signs of wear, especially items that have been exposed to mud, salt, urine, sap, or rough vegetation.
Don't allow your repair list to morph into an excuse for poor decision-making. If a part of gear returns to fail in a short space of time, continues to degrade, or is located on a safety-critical part of gear, then reassess that item for possible replacement.
A repair list is a useful way to record what needs to be done before you start shopping for repairs, and it helps to maintain good equipment, to identify weaknesses, and to anticipate problems before they arise.